

Easter at our house was wonderful. The weather was perfect and the food was divine. It was nice to have everyone here and have some down time. Of course down time for me is cooking and feeding my family. I did have some help this year. I conscripted my oldest to help me make the traditional ravioli we have every Easter.
Making pasta is all about the dough, much like bread making. Once you make it a few times you will wonder why you didn’t try it sooner. There are so many ways to use fresh pasta. All it requires is flour, eggs, and a touch of water. Of course, some time is required to knead it into a work of art.
You can fill your ravioli with anything you like. Your dough is your canvas so create flavors you love. One of our daughters has a cheese allergy. We made her a spinach and chicken ravioli. Honestly, I wish I had made more of those! They were fantastic!

I won’t lie to you, it does take some practice, but if I can do it, anybody can! My father and mother in law taught me a few years ago. In fact, my pasta roller, which is a hand crank, was given to me by them.
Pasta rollers can be hand crank, electric, or an attachment for your Kitchen Aid. I have the attachment. There’s just something so satisfying in hand cranking my dough into long, billowy, sheets of heaven. It’s personal preference, either will produce the same product. Again, it’s all about the dough.

This is a basic egg dough recipe. It rolls beautifully, shapes easily, and it is very tasty. A blank canvas waiting for you to do what you want with it. So, whether it’s ravioli with your favorite filling, or cut into strips for noodles, it’s worth the effort. You will never want to buy store-bought again.
Til next time,
Ciao xoxo
EGG DOUGH PASTA
- 4 C all-purpose flour (additional on the side)
- 4 eggs
- 1 T olive oil
- water (set aside in a cup)
- Measure out the flour and place into a large bowl.
- Beat the eggs together in another bowl and add in the olive oil and 1 T of water.
- Pour the wet ingredients into the flour, toss and mix everything with a fork until it starts to clump together.
- Lightly flour your hands, gather the clumps in the bowl, and begin kneading right into the bowl. It will be a shaggy mess just keep pushing and folding it over again and again. Make sure to get the flour off the sides of the bowl during this kneading process.
- When you have a cohesive piece of dough, remove it from the bowl and continue to knead it for about 2 or 3 minutes or until the dough is smooth and shiny, and there are no lumps present.
- If the dough is too sticky, add additional flour in small amounts, if it is too dry add a little water a few drops at a time, and continue to knead it until you get the desired smooth and shiny look on the outside and stretchy on the inside.
- Form it into a disc and wrap it in plastic wrap and let it rest at room temp for an hour. It can also be stored in the refrigerator for a day, make sure it is tightly wrapped. Just let it return to room temperature before attempting to roll it out.
Rolling the dough:
In all honesty you could even use a rolling-pin. You know my preference! Just make sure the dough is at room temperature.
- Cut your disc into 8 pieces
- Work with one piece and keep the other covered to prevent drying out.
- Have a large sheet pan dusted with cornmeal, so you can lay your dough out and prevent sticking.
- Using a pasta machine set the rollers to the widest setting, for me that’s a 7.
- Press the first piece of dough into a disc and fold it in half, and run it through the machine at least two times, if it is sticking add a little dusting of flour to the rollers and continue.
- Fold the elongated piece of dough into thirds and turn the dough 90 degrees so the fold is on the side and roll it through. Repeat rolling and folding in this manner for a total of eight times. This is like kneading and will make your dough more pliable.
- Set your machine to the next setting down and run it through, you will see that it widens, no more folding! Catch the strip as it comes out being careful not to push or pull the dough. Let the machine do the work.
- Continue to decrease the setting down and running the dough through until you reach the desired thickness, being careful it doesn’t tear or stick. You should nearly be able to see through the dough strips.
Now on to filling:
Our traditional filling is made with Ricotta. There are many fillings on Pinterest and on the web. Lidia Bastianich has a cookbook out called Lidia’s Family Table. I highly recommend it. It is loaded with great instruction on pastas and fillings. But I will give you the one we use.
RICOTTA FILLING
- 1 large container of whole milk ricotta
- 1 egg, beaten
- 1 cup of grated Parmigiano/Reggiano cheese
- 2 tsp sugar
- Cinnamon, just a sprinkle or two (don’t go overboard)
- Parsley, chopped, approx 2 T (for freshness and color)
- salt and pepper to taste
Mix all together and taste it to see if you need to make adjustments.
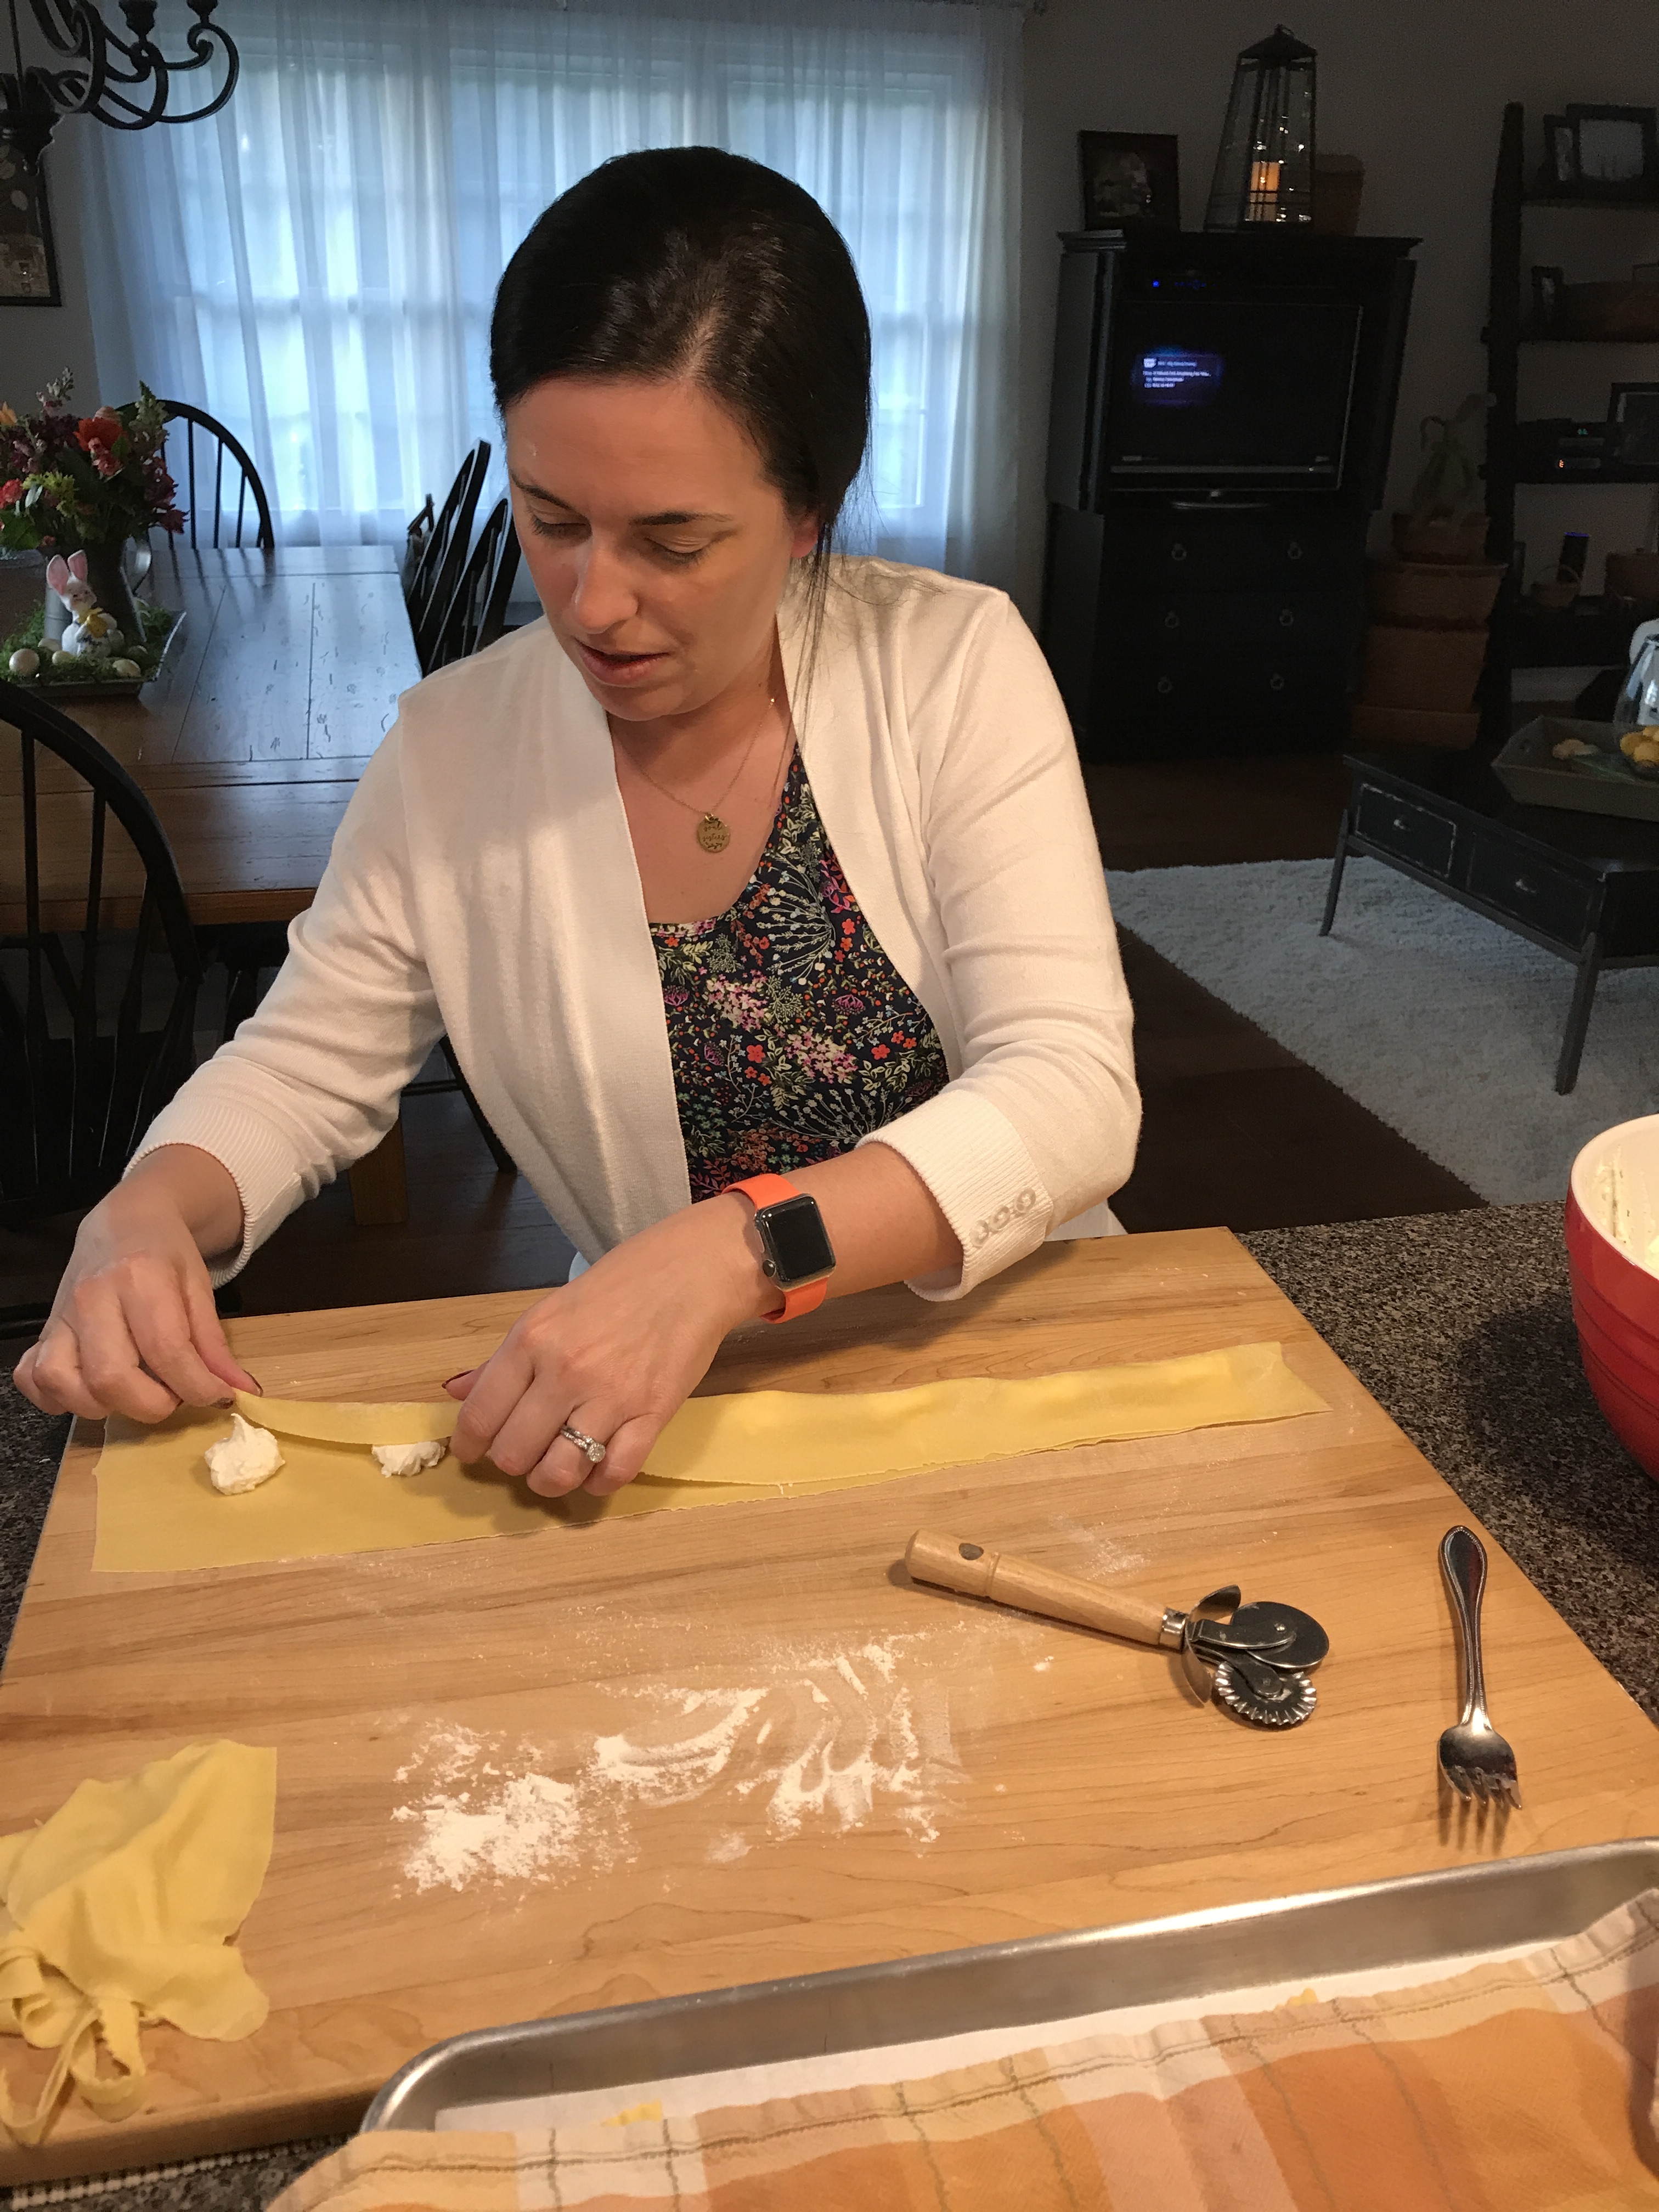
- Take your long sheet of pasta and put a generous tablespoon of your filling in the center at one end. Make sure you leave at least a 1 1/2-2 inch space on both sides of your filling. (do not overfill your ravioli)
- When done, fold the dough in half over the filling, pushing the air out with your fingers as close to the filling as you can without mashing the filling down.
- Using either a sharp knife or a pastry wheel cut between the fillings evenly making individual ravioli.
- Using a fork, crimp around all of the cut edges, (not the fold) making sure they are tightly sealed. (you don’t want your filling leaking out when cooking).
- Place in a single layer on your cornmeal dusted tray, covering to prevent cracking and drying out.
- You can either cook at this point, or freeze them. If freezing, put them in plastic containers, or freezer bags. You will cook them frozen when ready to cook.
- When ready to cook, bring a large pot of salted water to the boil. Add a few at a time, overcrowding will cause breakage and sticking. When they float they are done. Put the cooked ravioli in a warm oven with a bit of sauce on the bottom of the dish. Continue cooking and adding ravioli in a single layer, adding sauce and cheese to each layer until all are cooked.
Add your favorite sauce, homemade or jarred! This is so impressive when you have guests over. They won’t believe you made it yourself. I hope you will give it a try.
REFERENCE: Lidia Bastianich “Lidia’s Family Table”.

2 responses to “Easter Weekend and Ravioli”
[…] job! Of course, my sister-in-law, husband, and myself, have been doing it for a long time. Easter Weekend and Ravioli I must say, I was so grateful to have my sister-in-law Dawn here to help. We haven’t been […]
LikeLike
we need to talk about that picture of Ol Mama Sicilia up there. Jesus. Love you still.
LikeLiked by 1 person