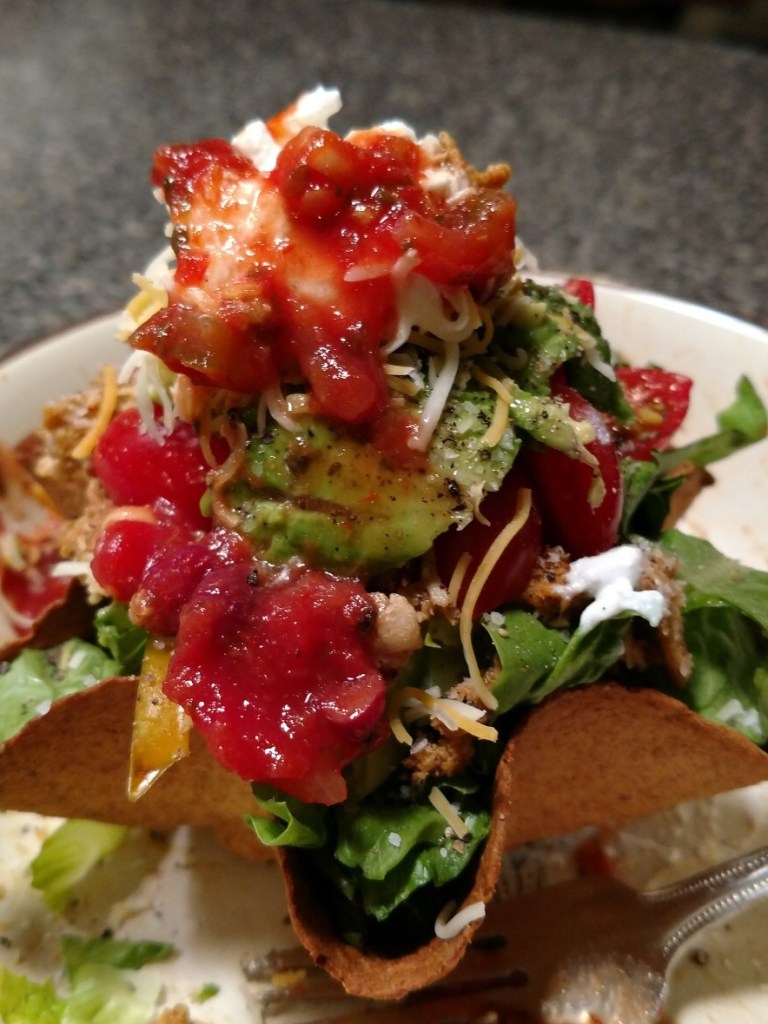
taco salad

vegie crescent squares
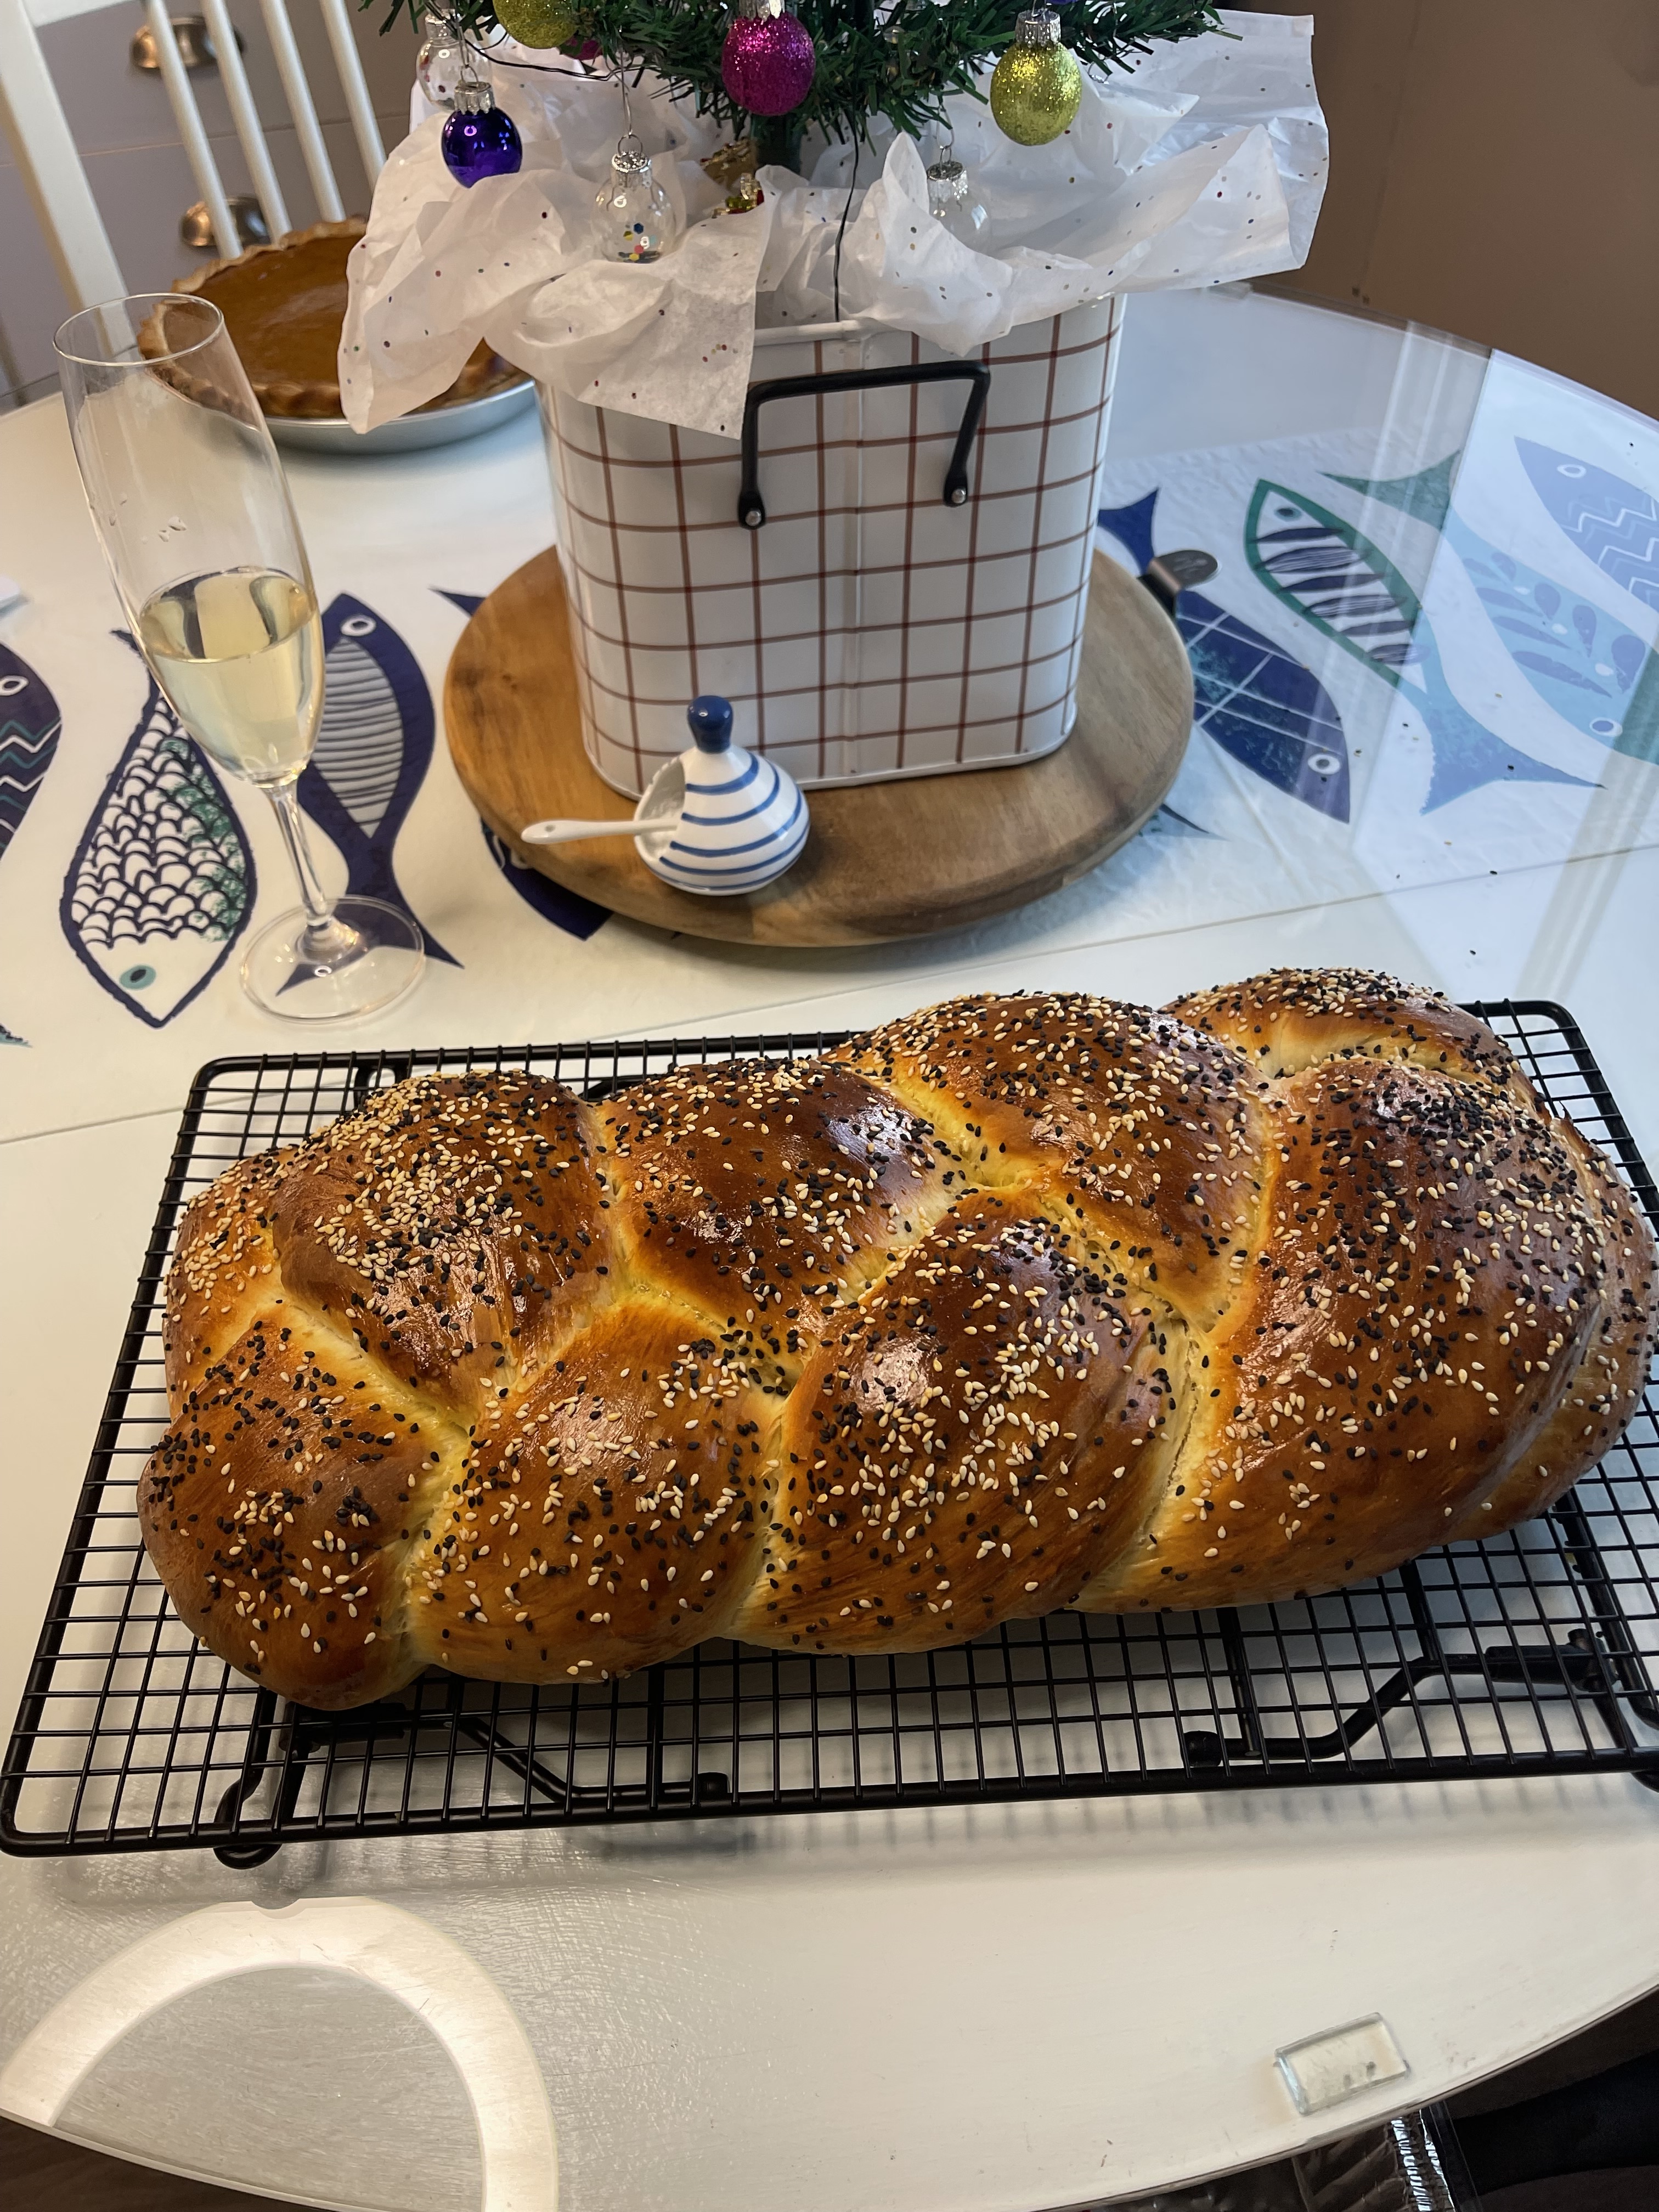
braided egg bread
Follow me……
tried and true recipes from my kitchen to yours.


I’m back………stay tuned for some new recipes and some fun times!
by Viki DG
tried and true recipes from my kitchen to yours.
I’m back………stay tuned for some new recipes and some fun times!

You must be logged in to post a comment.